A quick and easy closet door update
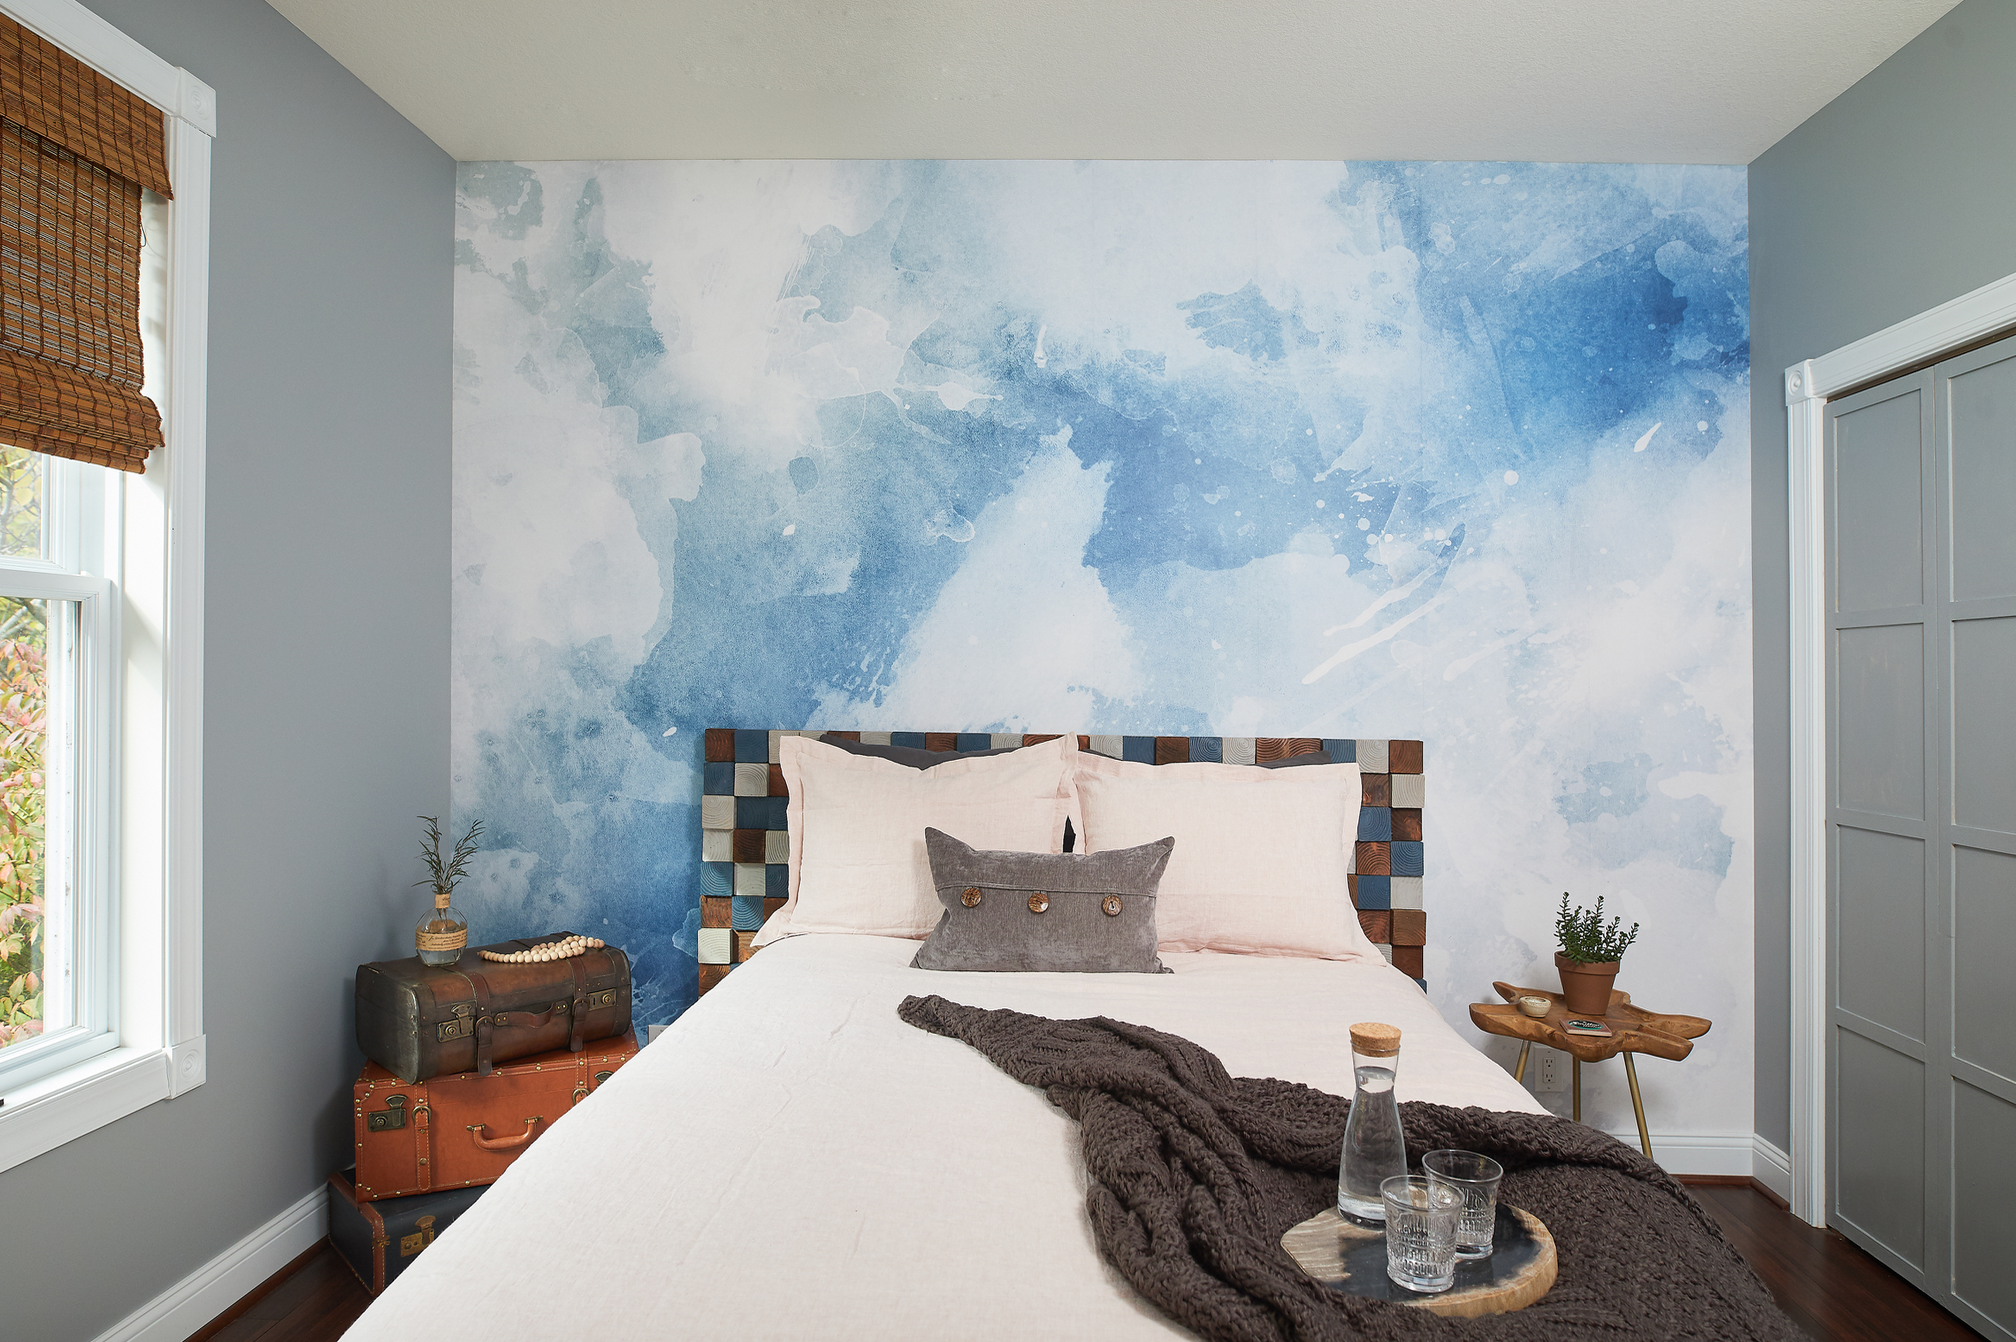
I love a quick DIY update and these closet doors were the perfect candidate for one. Last Fall I was working on the guest room update for the One Room Challenge see it here. Towards the end of the six week challenge I was trying to chose between painting the doors blue or grey when I came across an IG image with a headboard trimmed out in moulding which I fell in love with and decided it was perfect for the doors! A little visual interest was exactly what the doors needed.
After
The other thing I was looking for was AFFORDABLE as I had budgeted carefully for the space and the coffers were running low. The doors were in good shape just a bit meh.
Before
Materials Used:
-Wood moulding (we used 2 inch strips from Home Depot)
-Miter saw
-Wood glue
-Pneumatic nailer
-Spackle
-Paint
We found these inexpensive wood strips at Home Depot for around 1.00 per foot.
I had grandiose plans to lay out a very intricate design when my husband reminded me of my limited geometry skills. Point taken.Since I was short on both time and math skills I decided on a simple design.
We got started gluing the strips to the doors and added a few pneumatic nails to help hold them in place while the glue dried.
Here I am hard at work supervising.
Once the moulding was up I filled in along the edges with spackle in order to assure a clean line when painted. It drives me crazy to see those little lines where the paint separates from the wood piece in moulding.
Final step was using a high quality paint. I am a fan of Sherwin Williams Emerald Interior paint and primer in one. I used Gray Matter SW 7066. 3 coats.
Added some pretty new Brass hardware.
I mentioned it was quick and easy. The paint was left over from another project but even if I had included a quart of paint total cost would have been less than $50.00 and took a weekend. The details make all the difference!
Be Our Guest Sign
Pin it for later!
Closet Door Update Before and After
As always, I appreciate your taking time to stop by!
Until next time,
-Libbie


