Installing Traditional Wallpaper/Week five One Room Challenge
Well folks, we’ve made it to week five. YAY! The weeks have once again flown by. This One Room Challenge has had a unique twist for me as it’s in my daughter’s home, so traveling to Chicago from West Michigan has added it’s own challenges and lack of sleep (bonus for the extra time together though). On the plus side I’ve had more muscle in the form of my daughter and son-in-law which came in really handy this week with hanging the wallpaper.
Note: The wallpaper in this post is sponsored by Milton & King but the opinions are 100 percent my own.
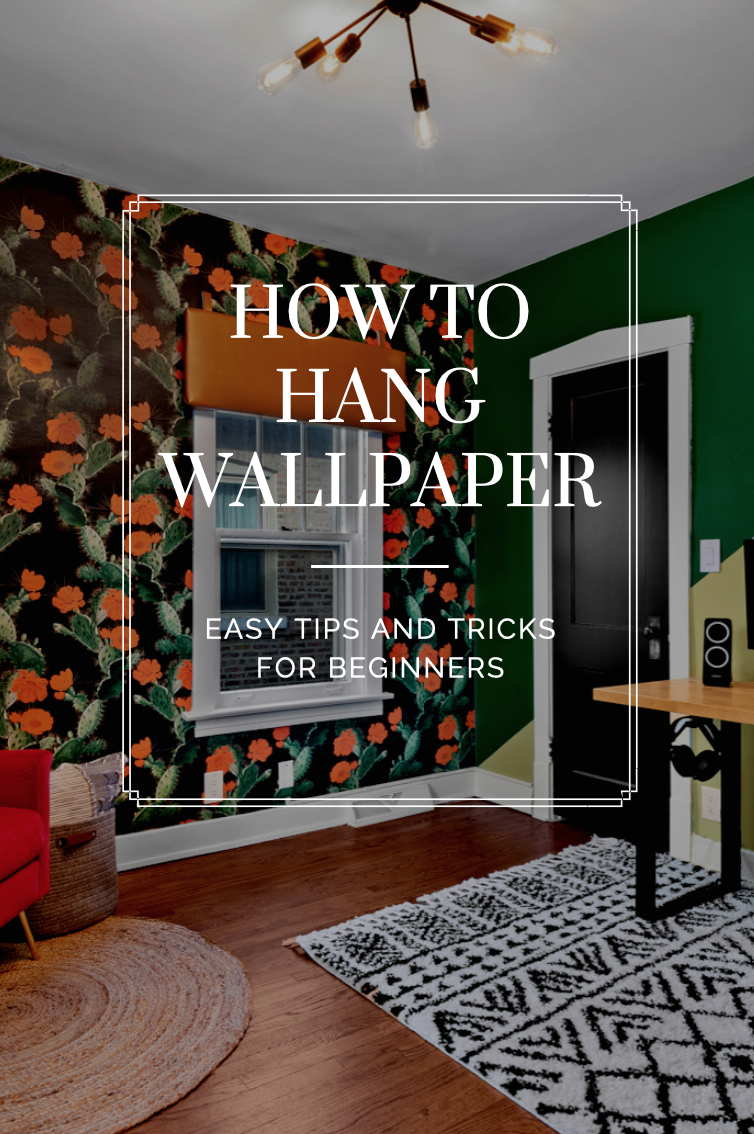
The home office is a great place for a bold wallpaper choice.
Easy tips to hang pasted wallpaper even if you are a rookie:
You’ll need:
Wallpaper
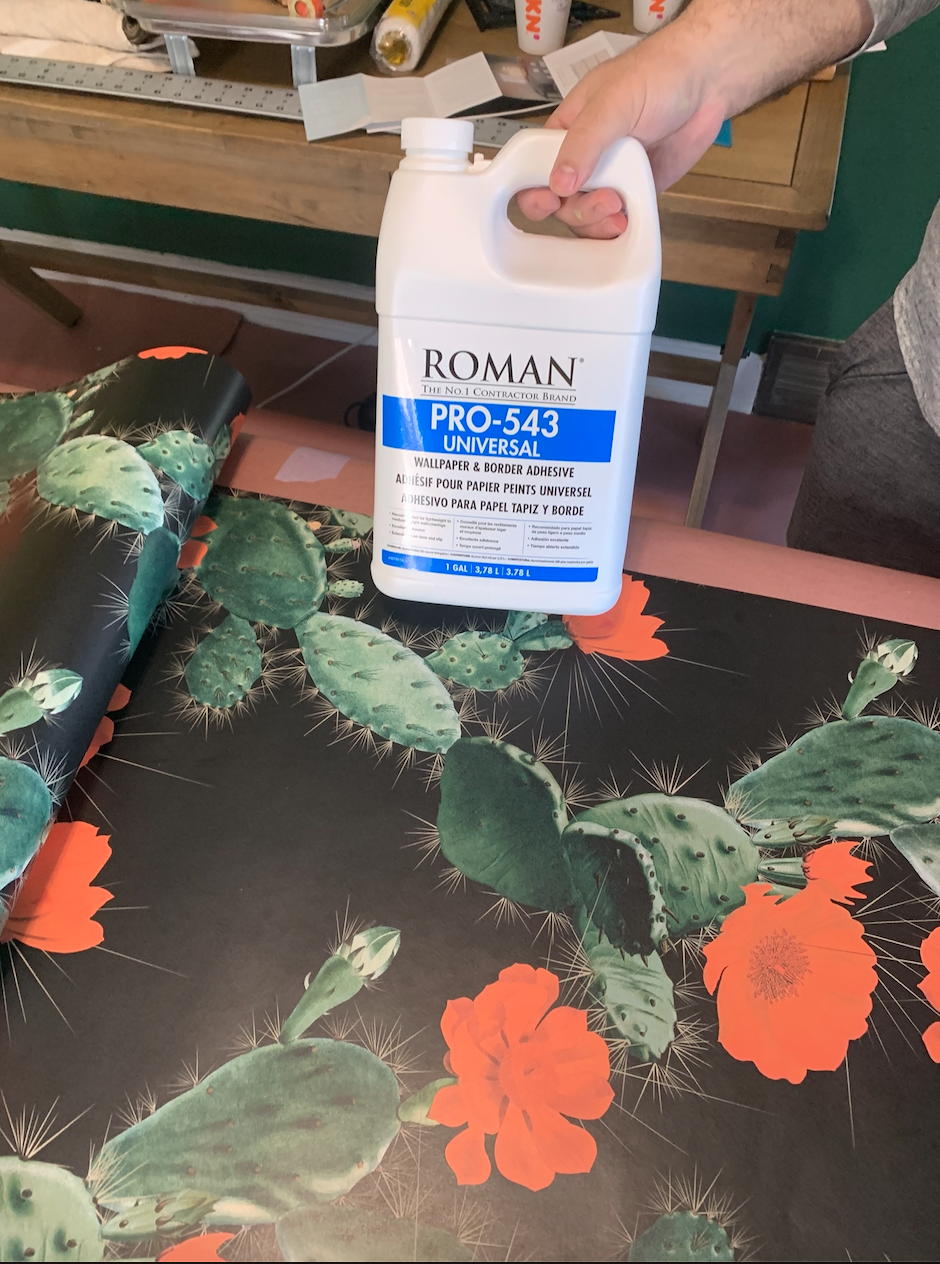
Wallpaper paste (a quality fungicide protected, tub adhesive)
Measuring tape
Scissors
Paint roller, paint tray and paint brush
Straight Edge
Sponge
Pencil
Level or Plumb-bob
X-acto knife (with ample blades)
Smoothing tool
Steps:
Plan your wall- Accent or entire wall? Ceiling? Measure the height and width of your area you choose.. It’s helpful to always buy a little more than you need Milton & King has a calculator on their website that is extremely useful.
Prepare the wall- Fill in any holes. Lightly sand smooth any imperfections. Wipe the wall down with a damp rag. Be sure to remove any light switch and electrical outlet panels and cover the outlets with electrical tape for safety.
Apply the paste-When using Paste-the-Wall wallpaper (which is what we chose from Milton & King), the paste is rolled on the wall before hanging each strip. This wallpaper is made with a special backing that does not expand when wet; therefore, it does not need to soak as with other application methods. Using Paste-the-Wall wallpaper can cut your hanging time in half since the wallpaper does not need to soak prior to hanging, it can be hung easily and quickly.
Hang Wallpaper- Be sure to start at the top and work your way down. As you place the paper on the wall, use your hand as a guide as you make your way down smoothing as you go. Use a plastic wallpaper smoother to get out any bumps or ripples in the wallpaper in a downward motion Once the paper is flat and smooth, you can use the E-xcato blade to cut any excess at the bottom.
Trim/Cut-Use a utility knife to cut excess paper along the ceiling and floor and around any windows.
So let’s talk about this wallpaper choice for the home office, and how easy it was to get it on the wall. I have hung removable wallpaper at my own house but the walls in my daughters 100 year old home are not as smooth as mine so we decided on a traditional wallpaper in their home office. It sounds intimidating but it truly wasn’t. In addition the feel and quality of the traditional paper was much more substantial than removable paper. I think going forward I am a convert.
Prepping wall.
Wallpaper Paste
Preparing to paste the wall.
First roll is up
Trimming the bottom.
Trimming around the outlets
Smoothing out bumps and ripples
Calling it a day!
We love the bold cactus wallpaper in this space and are excited to style it for the big reveal next week! Please grab a cup of coffee or glass of wine and go take a peek at the amazing spaces the featured designers as well as the guest participants are working on. I am truly in awe.
Until next time,
-Libbie


