staining my butcher block counters
Hello!
Thanks for popping in today. Since it has been six months since we finished our butcher block counters I thought I’d share what we stained them with and how they are holding up.
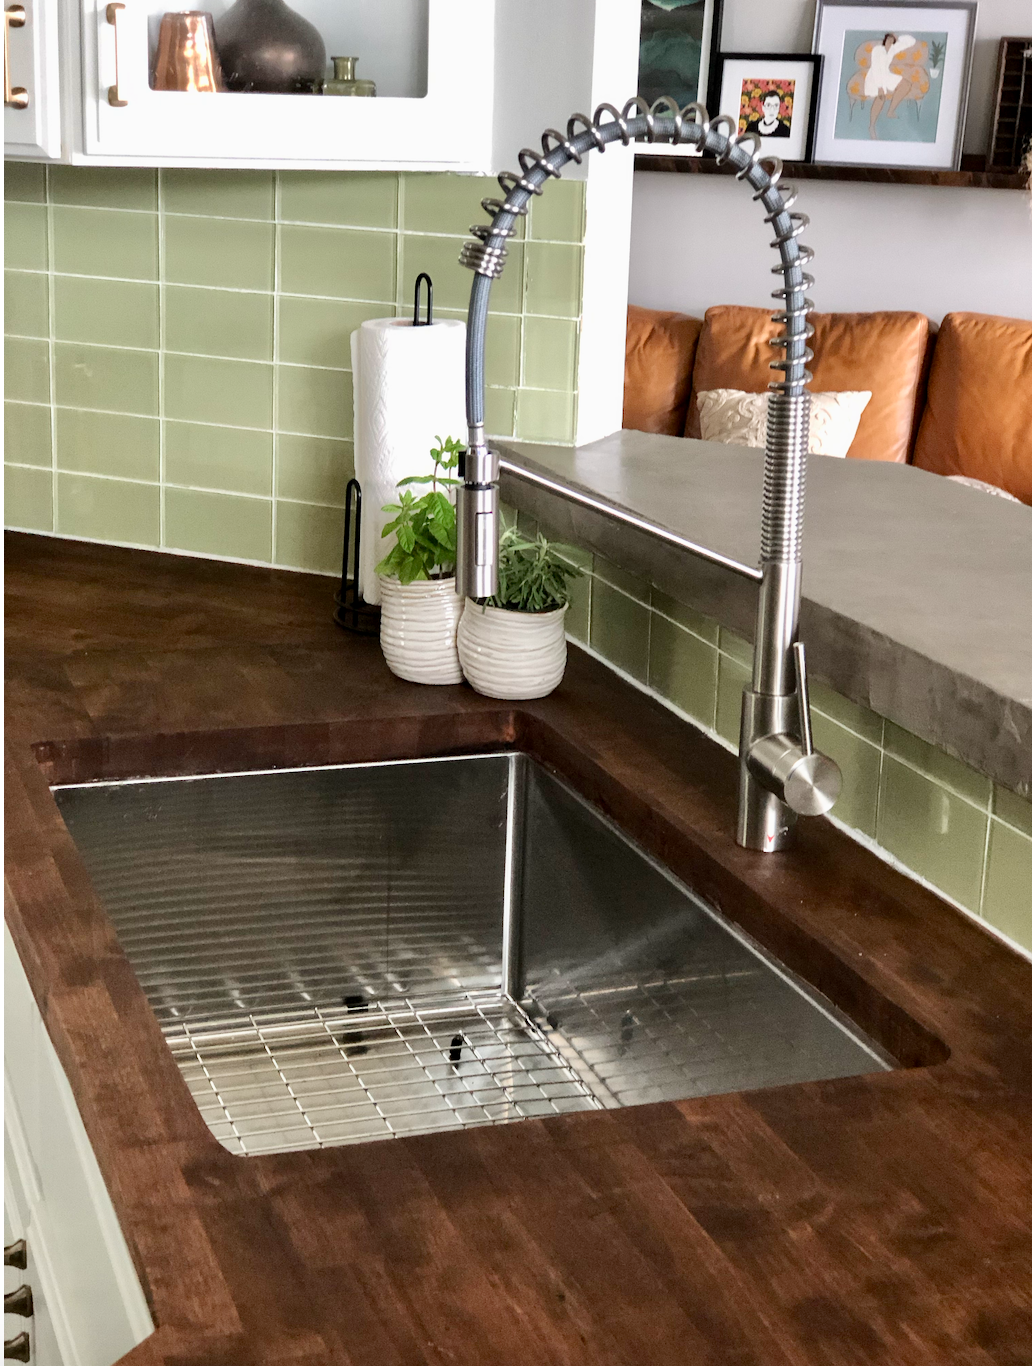
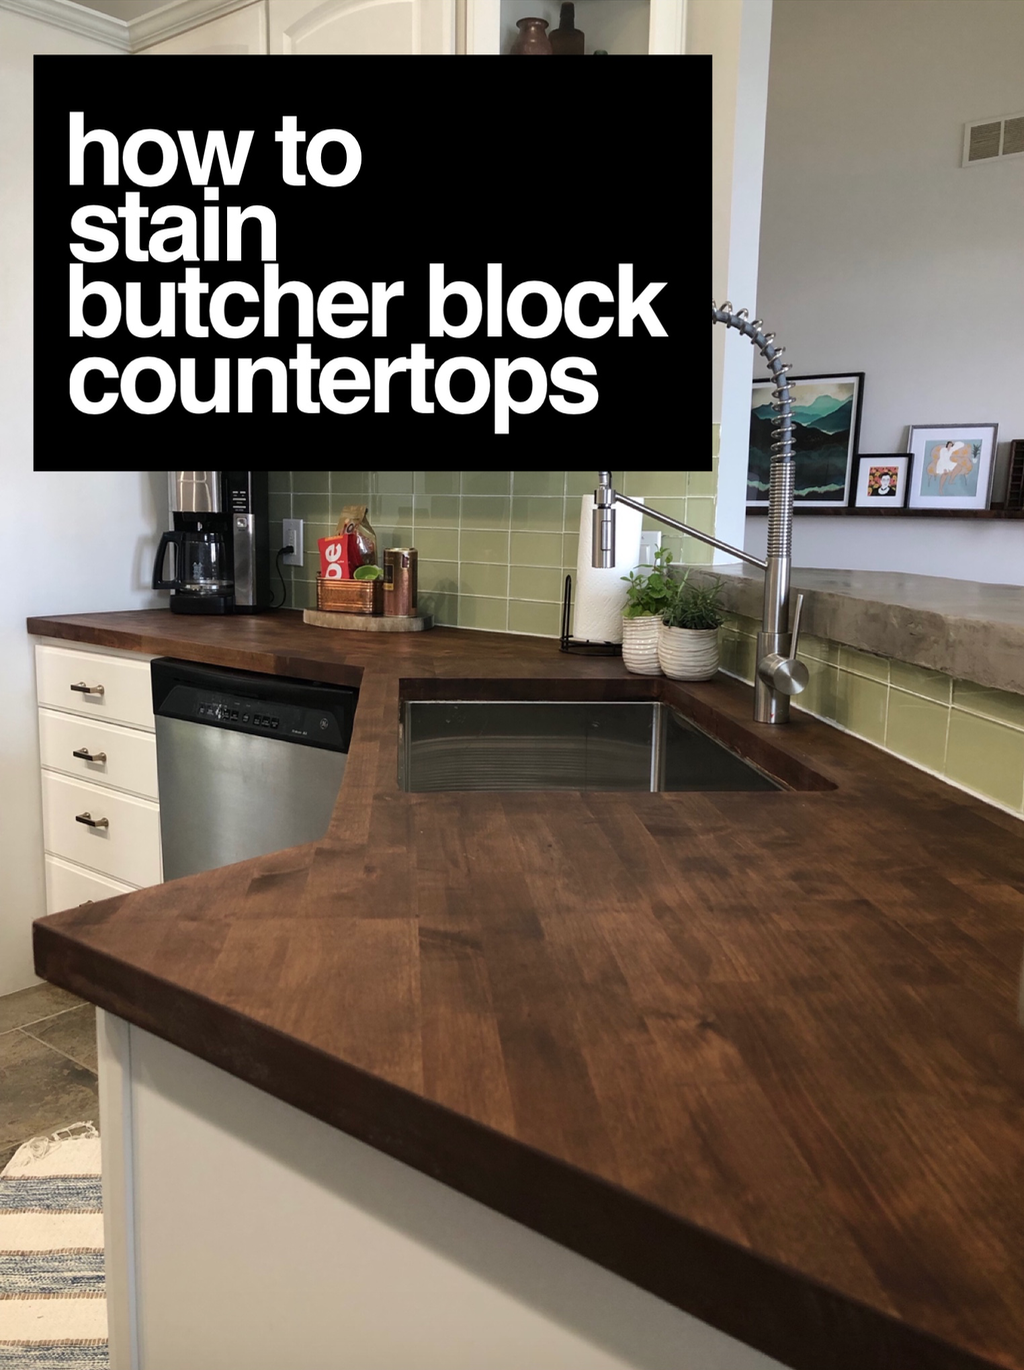
Butcher Block with drop in sink
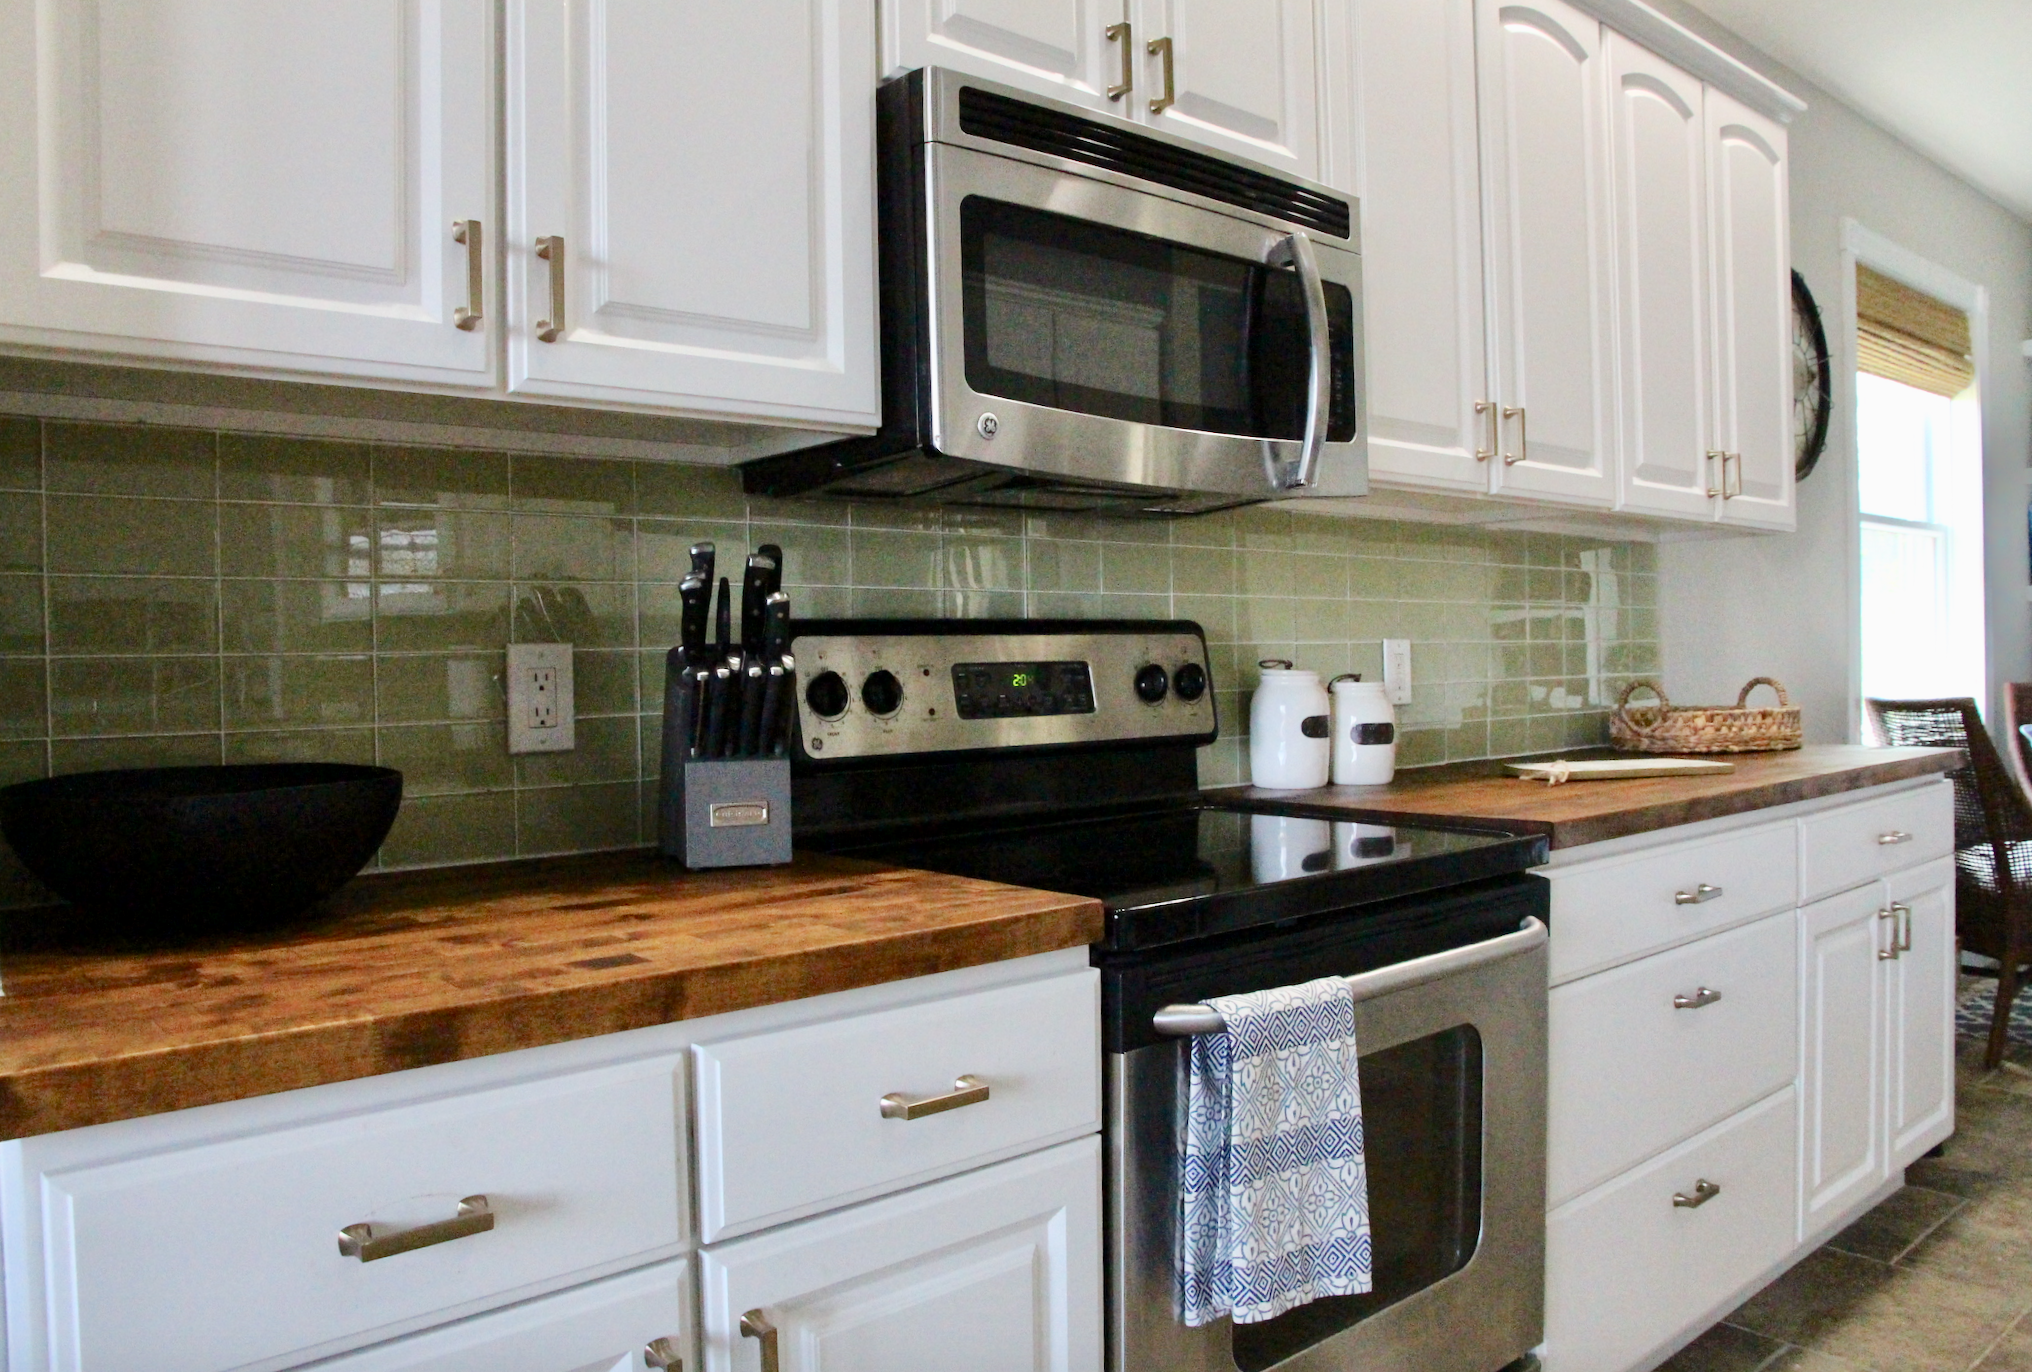
Finished stained butcher block countertops
A little backstory first. The butcher block was part of our kitchen refresh project for the One Room Challenge. We were looking to replace our 17 year old Formica countertops they were worn and in dire need of replacement you can see them here. I knew from the moment we bought this house that I wanted to add butcher block counters to the kitchen. I love the warmth that wood brings to a space and they are a very affordable countertop option. It was a bonus that we could easily DIY them ourselves and I wasn't worried about the upkeep as we are empty nesters which means our kitchen doesn’t receive nearly the daily wear and tear it once did.
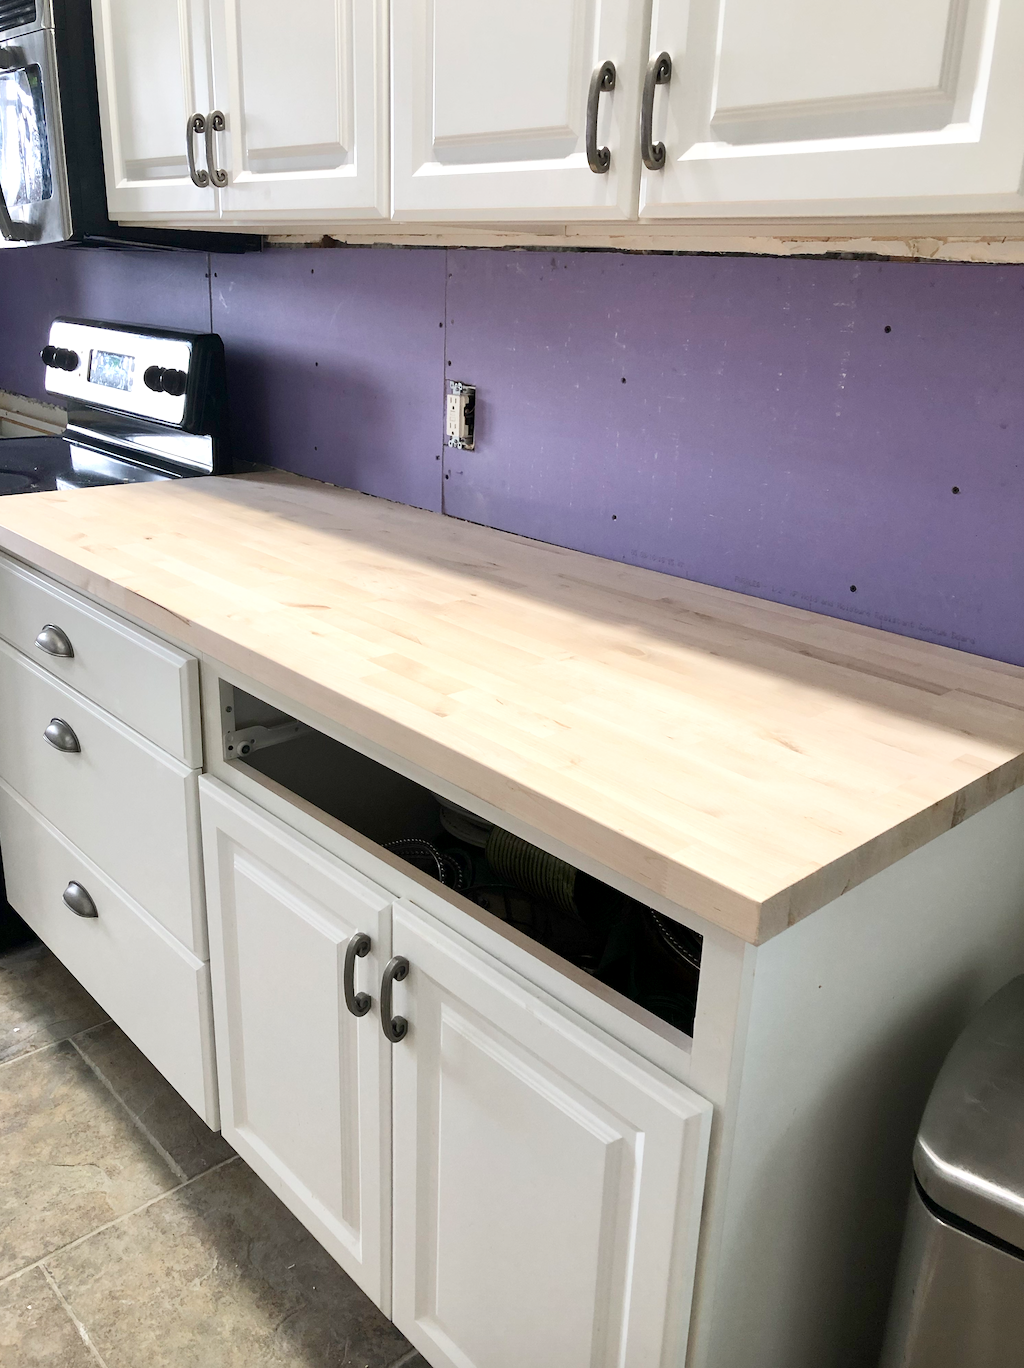
Installed Butcher Block
Installation of the counter tops went fairly well (says she that did not have to cut for the sink twice) The problem was I procrastinated (remember we were on a deadline for the challenge) and I didn’t realize it would take over two weeks to have the countertops shipped to our Lake House. So our only options were to look at the big box stores in order to meet the challenge deadline. Luckily we ended up finding the sizes we needed at Menards. They were only available in birch (solid wood but lighter than I wanted) But I thought, hey okay, I’m flexible. Insert laughter here if you don’t know me well.
-A side note if you are buying from a big box store lay them on the ground to make sure they are not warped. We had to return two of ours that were horribly warped when we went to cut them. On the final visit we pulled several off the shelf and laid them flat on the floor to check.
Once installed I was SOOO excited! I had the beautiful wood I wanted but the color was off. The natural light birch color which I usually like was driving me crazy in the space. I kept trying to talk myself into loving them but I just didn’t. NOTE: Plenty of people simply seal their countertops with mineral oil and keep them natural. If so, I have found the Boos Mineral Oil to be my favorite.
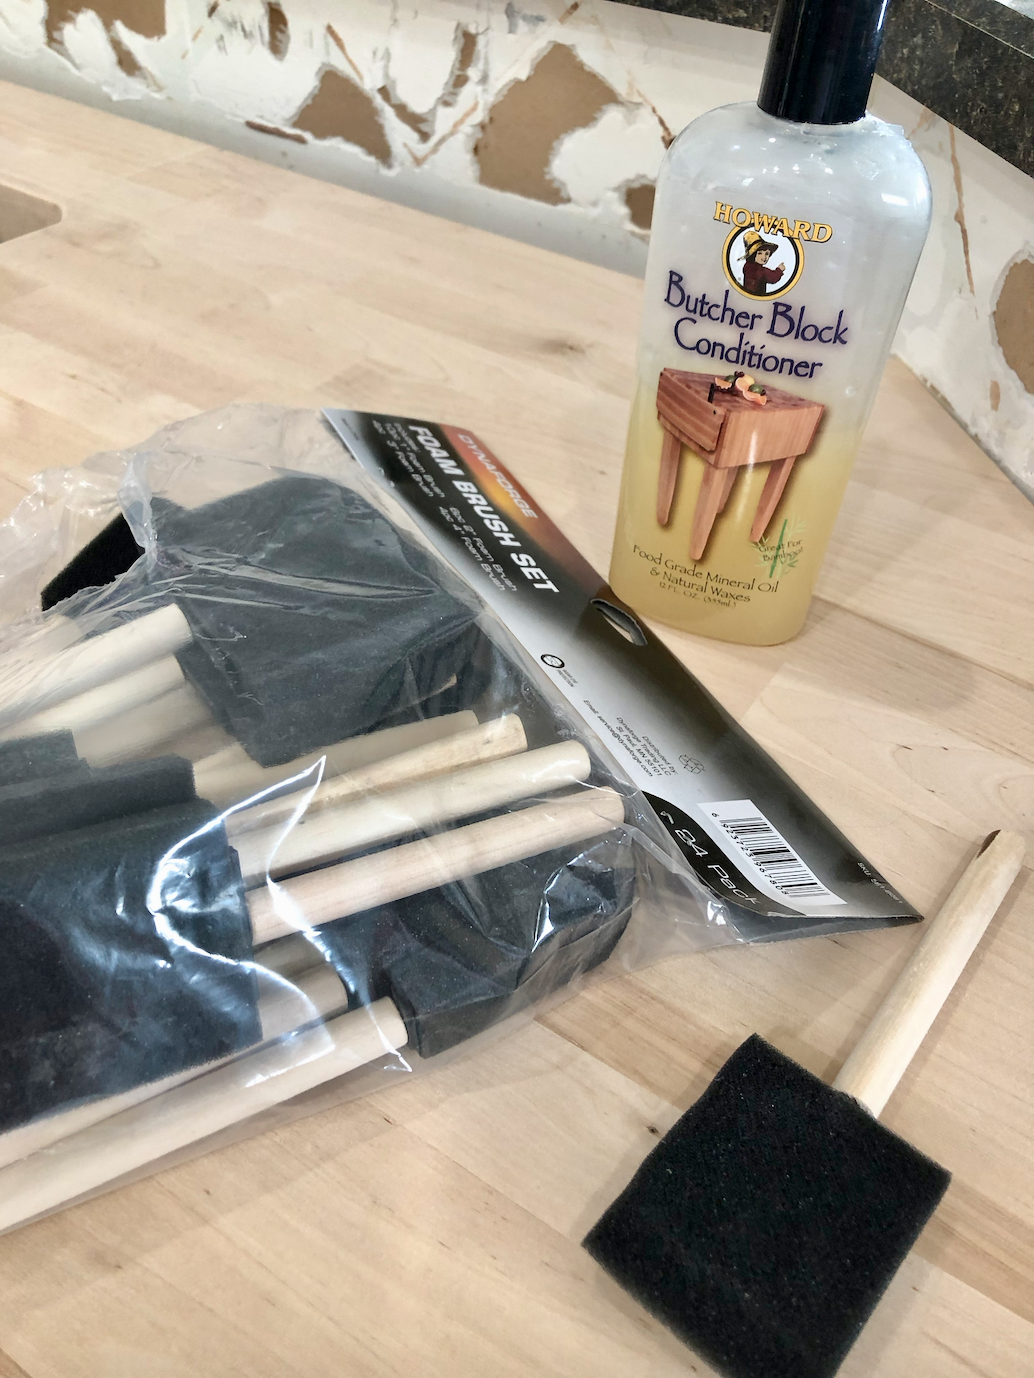
I knew I had to prep the countertops before I could go any further so I conditioned them with butcher bloc conditioner.
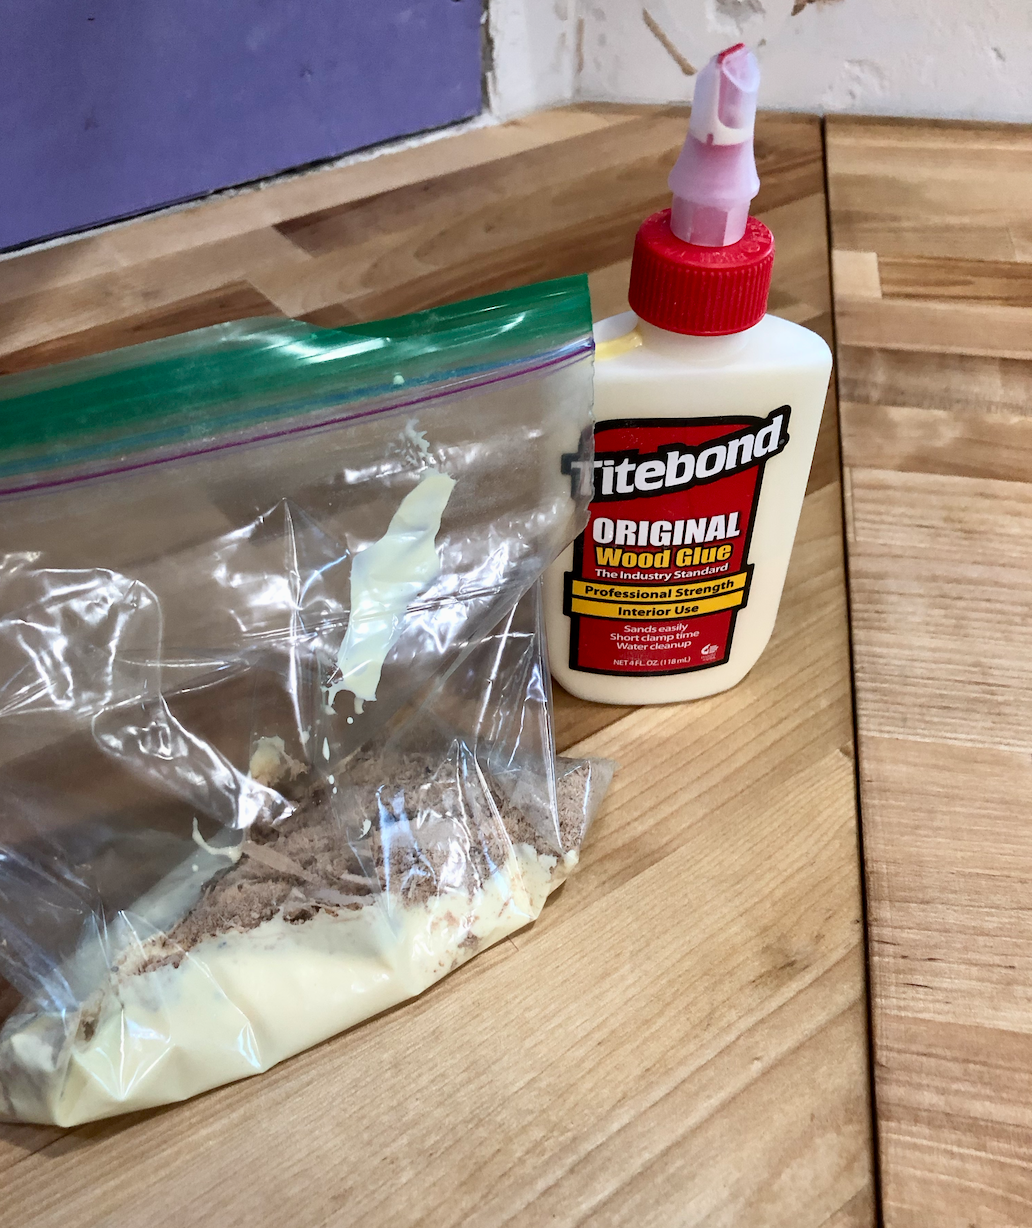
My next step was to fill in all the cracks where the counter tops has seams. For this I used the wood shavings from where we had cut the counter tops and added wood glue. I just mixed it together in a plastic bag and apply it using my finger. I then used the edge of a butter knife to get off any excess. This stains close to the same color as the top. It works like a charm. The seams are a little darker but they have the same wood tones.
After an entire day of google research I decided to try Dark Tung Oil to darken the wood. I applied it right over the wiped off Tung Oil. I was trying to keep them food safe which is a concern for me. It seemed like a great solution. And I have to say….they were darker. But they also pulled a bit orange (which I think is from the birch). I applied 4 coats here.
Conditioned with Butcher Block oil and four coats of Dark Tung Oil. Very pretty but not working with the tile floor.
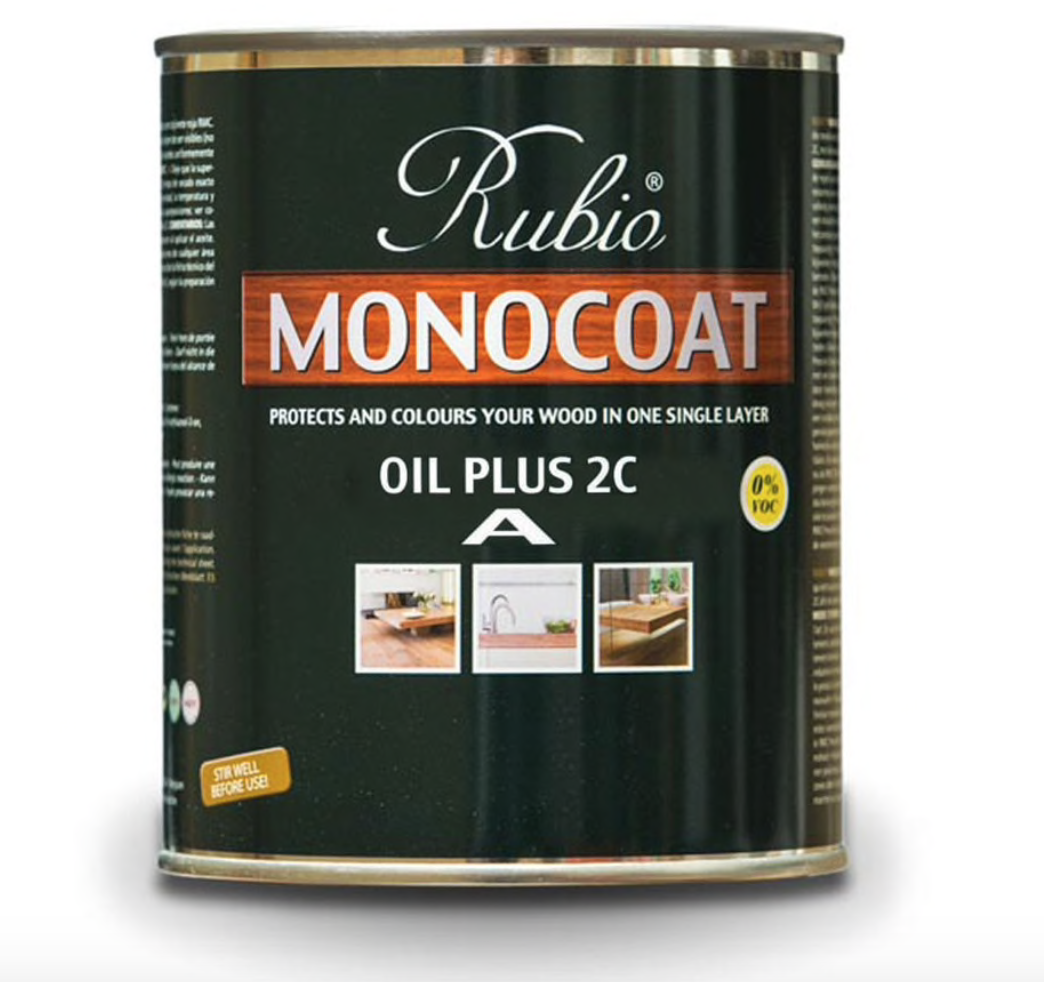
I went back to researching more options. Just when I was about to give up I must have typed a new combination into google and this AMAZING product popped up Rubio Monocoat. Now I am the first to admit it's not cheap but it works!
Walnut stained butcher block.
What is sooo amazing you asked? It’s food safe once dry, comes in over twenty colors and only takes ONE COAT! I ordered two samples the Black and the Walnut. I ended up using the Walnut with just a touch of Black added (I tend to mix stains to get the results I want) and here is the final color. (Excuse me for a second as I am still happy dancing). The photo below makes them look a little more orange than the photo above its the lighting. They are slightly but not that off. :)
Walnut stained Butcher Block using Monocoat.
After six months of use we are very happy with how they are holding up. I have touched them up (I don’t bother to mix the two colors I simply use the Walnut) a time or two for nicks but mostly just use boos mineral oil every few months when they start to look a bit dry. I put the mineral oil on and let it set overnight and wipe off the excess in the am. It doesn’t feel like a lot of upkeep. I do make sure we have a cutting board handy at all times :)
We are so happy with them we will add them to our rentals when we need to replace.
Stained Butcher Block
Updated Sept 12, 2020: We loved the way these turned out so much we added them to the recent Airbnb renovation we did. I went a tiny bit lighter in the color on these (did not as much black) because the entire space is light and bright but love them also! Both of the countertops are holding up very well!
Until next time,
-Libbie
